How to Make Bulgarian Yogurt (Kiselo Mlyako) at Home
Learn the simple, time-honoured method for making thick, tangy Bulgarian yogurt at home with just milk and a spoonful of starter.
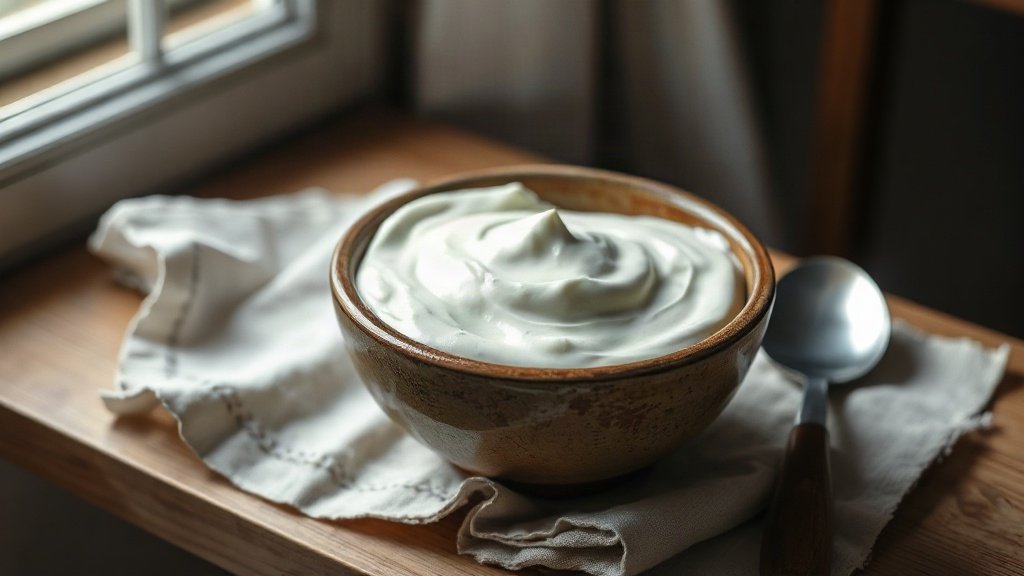
Illustration: AI-generated image
Bulgarian yogurt, or kiselo mlyako, is a staple on almost every Bulgarian table. Known for its thick, creamy texture and pleasantly sour taste, it owes its unique character to a specific bacterium, Lactobacillus bulgaricus, which thrives in the local climate. While you can buy it in any shop, making your own at home is surprisingly simple, satisfying, and lets you control the ingredients. Plus, it connects you to a culinary tradition that goes back centuries.
What Makes Bulgarian Yogurt Special
Unlike many commercial yogurts, Bulgarian yogurt is traditionally made with whole cow's milk (though sheep, goat, or buffalo milk also work) and a small amount of previous yogurt as a starter. The starter introduces the live cultures that ferment the milk, turning lactose into lactic acid and giving the yogurt its signature tang and set. The result is so thick that a spoon can often stand upright in it.
What You'll Need
- 1 litre of fresh whole milk (avoid UHT or long-life milk, as it doesn't set as well)
- 2–3 tablespoons of plain, live yogurt with active cultures (ideally Bulgarian, or from a previous batch)
- A heavy-bottomed pot
- A clean glass or ceramic container with a lid
- A warm place, such as an oven with the light on, a thick towel, or a yogurt maker
- A cooking thermometer (optional but helpful)
Step-by-Step Method
- Heat the milk: Pour the milk into the pot and warm it over medium heat until it reaches about 85–90°C (185–195°F). This step denatures the proteins, helping the yogurt thicken. If you don't have a thermometer, heat until small bubbles form around the edges but do not boil.
- Cool the milk: Remove from heat and let it cool to around 43–46°C (110–115°F). This is the ideal temperature for the cultures to thrive. If you don't have a thermometer, the milk should feel comfortably warm when you dip a clean finger in for a few seconds.
- Add the starter: In a small bowl, mix the starter yogurt with a few tablespoons of the warm milk to thin it. Then stir this mixture back into the pot of milk, ensuring it's evenly distributed.
- Incubate: Pour the mixture into your clean container, cover with a lid, and place it in a warm spot. The temperature should stay around 40–45°C (104–113°F) for the next 5–8 hours. An oven with only the light on works well; alternatively, wrap the container in several thick towels and place it near a radiator or in a warm corner.
- Check and chill: After 5 hours, gently tilt the container to see if the yogurt has set. It should be thick and leave a clean mark when you insert a spoon. If it's still runny, let it incubate for another hour or two. Once set, refrigerate for at least 4 hours before eating—this firms it up further and develops the flavour.
Tips for Success
- Use the freshest milk possible; pasteurised but not homogenised is best for a firm set.
- Always use a clean container and utensils to avoid unwanted bacteria.
- Save a few spoonfuls of your homemade yogurt as the starter for the next batch. It can be kept in the fridge for up to a week.
- If your yogurt turns out too sour, reduce the incubation time next time; if too mild, increase it slightly.
How Bulgarians Enjoy It
Homemade yogurt is incredibly versatile. Enjoy it plain with a spoonful of honey or jam, mix it with fresh fruit, or use it as a base for tarator (cold cucumber soup), ayran (a salty yogurt drink), or as a topping for banitsa. It also makes an excellent marinade for meats and a creamy addition to salads and dips. Once you taste the difference, you may never go back to shop-bought.